True Colours Flag Project
How to Make a Flag or Standard
May 2021By Kirsten Hammerstrom
This post originally ran on Kirsten's website, Kitty Calash, in April 2019 and has been republished here with her permission.
---
When I set out to “be” Rebecca Young, I thought I knew how flags were made in the 18th century – after all, I’ve made and seen a wide range of 18th- and early 19th-century items. But I was surprised when I got a look at a War of 1812 flag in the collection of the National Museum of the American Indian. (This was the closest, fastest option for getting a close-up look at an original, near-period flag in wool bunting, thanks to an inside connection.)
The questions I had were:
- What materials were used? (My guesses were correct: wool bunting and unbleached linen thread)
- What seam techniques were used? (See below)
- How was a flag assembled? (Sequence of parts; see below)
The conservator shared the flag’s condition and treatment report with me in advance, and it was helpful:

“Based on notes written by Phyllis Dillon, 1977(?): The flag is constructed of 9″ wide panels of plain weave wool bunting (24 threads/inch) sewn together with french seams (approx. 1/4″ wide) using beige (white/red) and brown (blue/white; blue/blue) 2-ply S linen threads in a running stitch. The canton is constructed similarly using strips of white and red bunting with similar thread count. The hoist (approximately 1 1/4″ wide) is made from a plain weave, coarse, undyed linen folded over the raw edges of the seamed rows of bunting and stitched with a beige (undyed) linen thread; there are three hand-stitched grommets/eyelets at the corners and the center of the hoist which appear to use the same type of linen thread as the hoist stitching. (See analysis section for fiber ID). The blue bunting at the lower and upper edges of the flag are selvage edges, the fly edge is folded over and stitched with a 1/2″ wide hem.”
The date of the notes (42 years ago?) concerned me, and I wondered about the French seams. Most of what we see in the period are felled seams, so it seemed possible there was some confusion about the terminology. I’m confused about it after looking at tutorials and descriptions online, but perhaps that’s just me – in any case, the only way to answer this was to go and look.
What did I find?

Materials
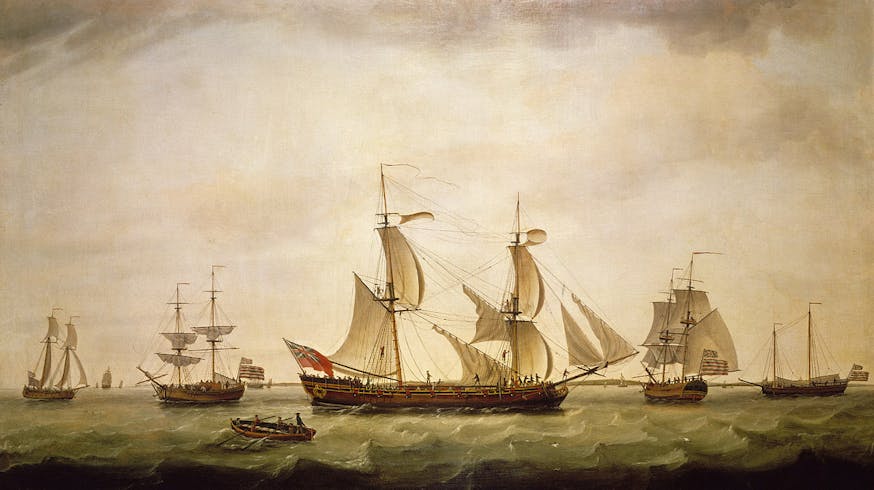
Wool bunting and silk were the most common materials used to make flags, colo(u)rs, and standards in the 18th and early 19th centuries. Colours, as advertised by Rebecca Young, likely referred to regimental colours, though a naval “colour” could mean a national flag flown by the ship. During the Revolutionary War, there were state navies in addition to a Continental Navy, further complicating the issue. (This complication also existed in the army. There are parallels today in the state National Guard units, which operate under a state or commonwealth governor, unless called into federal service. It’s your state national guard that comes to dig you out of your car in a major blizzard, but they can also be called to serve in wars, as you may recall from such debacles as Abu Ghraib.) Bunting came from Sudbury, England, and was woven in narrow strips. The strips on the Tecumseh flag are about 9 ½” seamed, suggesting that the width was about 10” including selvedges. Narrow strips are more flexible for assembly, and allow extensive use of selvedges to make seams narrower and stronger, because they’re less likely to fray.
Techniques
The running stitches in the Tecumseh flag threw me, because I’d expected back stitches, or combination stitch at least, but when I started working with the bunting, I understood. The loose weave of the bunting will pull and distort if you apply too much tension, so a backstitch would, in the end, be less useful than a running stitch. I doubt this is true of silk flags, though; silk, being more tightly woven, would better withstand a backstitch.

Because the Tecumseh flag is mounted and framed in a plexiglass case, I couldn’t touch the seams, or see the backs, and the conservators don’t seem to have photographed both sides when the flag was being treated– or at least images were not available to me. This leaves open the question of exactly how the seams were done, but my best guess based on areas of loss is that the strips were stitched together with a slight offset, like a felled seam, and then the overlap was tucked under and stitched down with a running stitch.

Assembly
This was probably the most delightful part of the research: figuring out how all the pieces went together. Once you see it, you can’t unsee it: flags were assembled in component parts, which were then assembled into wholes. Once we were working on the flag at the museum, the reason became clear: it’s so much quicker and easier to have multiple people working on parts, with one person assembling these parts, than to have one person per flag. This is proto-assembly line work, and it existed in 18th-century workshops from tailors to cabinetmakers. Specialization equals speed, and the key to making money as a contractor supplying the army was quantity.

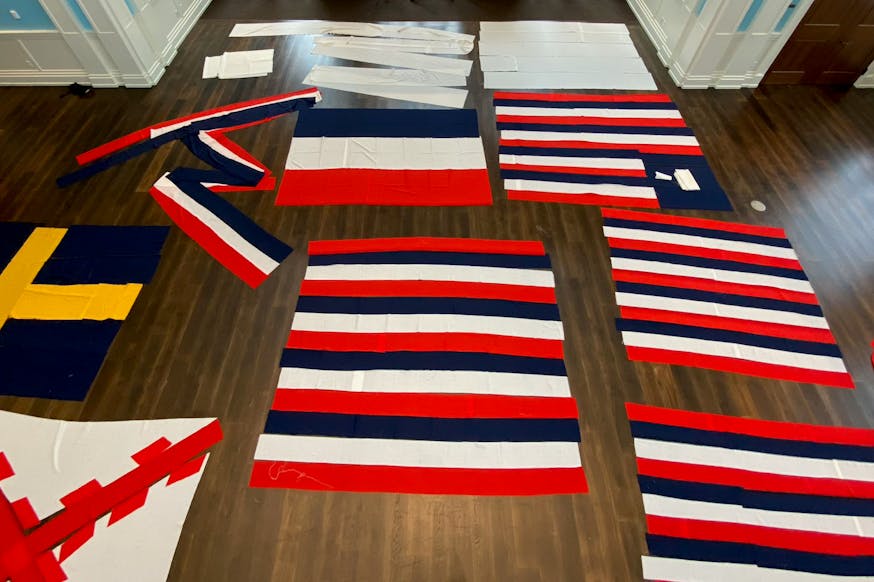
In the case of the Tecumseh flag, there are three main components: the lower three strips, the upper three strips, and the canton, which is comprised of seven parts. Each was assembled individually; then the canton and the three shorter strips were joined, and sewn to the long lower piece. After that, the hoist was attached and the far edge of the fly hemmed. Only then was the flag finished and ready for delivery.
The Fort Mifflin flag, 13 stripes of red, white and blue bunting, ending in red, would have been assembled in strips of two and then three, and then grouped and assembled. Working with Mistress V, the greater efficiency of assembling components became clearer. This hand-on quasi-experiment clarified some questions about how military contractors worked in the 18th century – at least the ones sewing. The system had to include multiple hands, working together in a shop or doing piecework at home for assembly elsewhere. There was just no other way to efficiently make the quantities of goods – 500 linen liners for light horse caps; 293 shirts; multiple standards and colours – at the speed the army required. The quantities also suggest that Rebecca Young was not just a widow-turned-contractor, but that she had working and organizing experience before she was widowed, along with a network of contacts who, along with some of her children, helped produce these goods.
About Kirsten Hammerstrom

Kirsten spends her work time as the Curator of the University of Maryland’s School of Nursing Museum and her free time exploring the long 18th century through archival research and material culture. She is particularly interested in historical millinery, women entrepreneurs in early America, and spoiling her cat. Kirsten is sewing the British Ensign for the True Colours Flag Project. You can follow her work on the True Colours Flag Project on her website.
Learn More

True Colours & Washington Standard Projects
Meet the Makers of True Colours